How to Keep Your White Sneakers Spotless
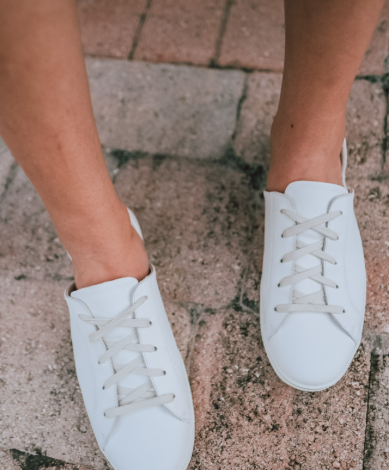
White sneakers are undoubtedly one of the most versatile and stylish pairs of shoes you can own. In fact, they are among my personal favorites. I’m sure you’ve already got a pair and understand the need to protect them, right? The slightest speck of dirt can feel like a disaster, and it’s enough to make anyone cringe when someone accidentally steps on them.
These shoes look so good that you can’t afford to let them get dirty. That’s why regular cleaning is a must. Ideally, you should clean them at least once a week (maybe even more, depending on how often you wear them). After learning from my own mistakes, I’ve figured out the best way to keep white sneakers in top condition. Here’s your ultimate guide for maintaining your fresh kicks.
What You’ll Need:
Before you begin, make sure you have the right tools for the job. You’ll need:
- Shoe cleaner
- Shoe cleaning brush
- Microfiber towel
- Repellent spray
Step 1: Prepare Your Shoes
Before cleaning, take the laces off your sneakers. Tap the shoes together to knock off any loose dirt or dust. Use a damp cloth to give them a quick wipe, removing any excess grime. Let them dry for a minute before moving on to the next step.
Step 2: Clean the Shoes
Apply a few drops of shoe cleaner to a wet brush and gently scrub the surface of your sneakers. Work in small sections until foam begins to form. For harder-to-reach spots or more delicate areas, a toothbrush works wonders. After scrubbing, wipe the shoes clean with a towel to remove the stains. Repeat the process as needed. For canvas sneakers, twisting the towel when wiping off the foam can help lift stubborn stains.
Step 3: Clean the Laces
While new laces can give your sneakers a fresh look, washing the old ones also works perfectly fine. Soak the laces in warm water with a bit of washing powder for about an hour. Once they’ve soaked, let them dry before re-lacing your shoes.
Step 4: Protect Your Sneakers
Once your shoes are clean and dry, it’s time to protect them. Take your sneakers outside and place them next to each other. Spray them with a protective repellent spray, following the instructions on the product. Let them dry completely. Once they’re ready, re-lace the shoes and store them in their box to keep them safe from dust and dirt.
Final Thoughts
After completing these steps, you’ll have clean, fresh white sneakers ready to rock. Remember, keep them away from rain, mud, and other dirty areas to maintain that pristine look.